Objective
To determine the stress–strain state of a circular plate.
Reference
S. Timoshenko, Résistance des matériaux, t. 2, Paris, Librairie Polytechnique Ch. Béranger, 1949.
Problem statement
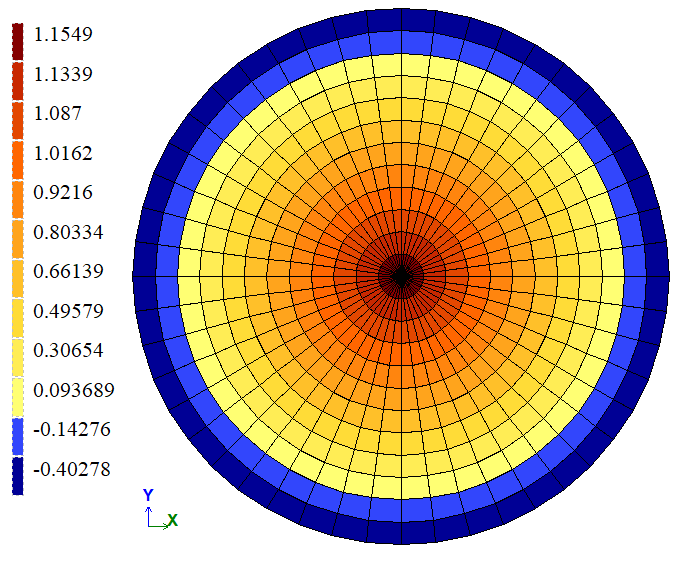
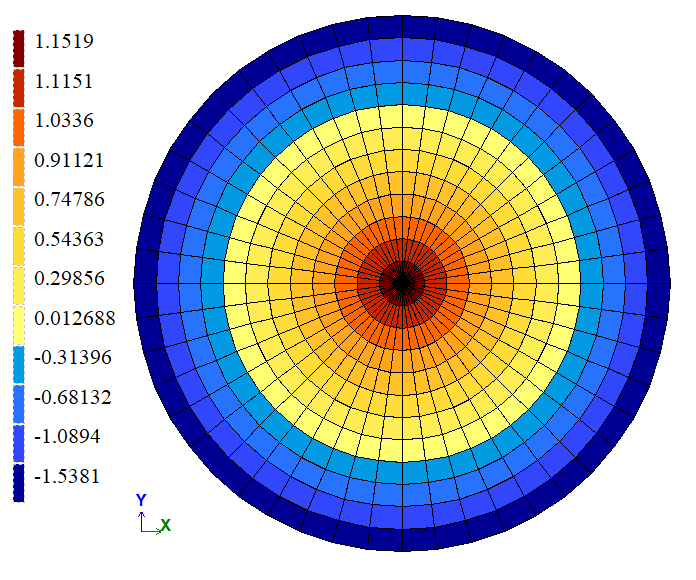
To determine the vertical displacement Z (w) at the centre of the plate, as well as the bending moments at the clamped support.
Design model
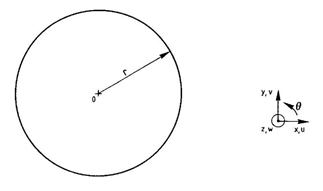
A circular plate clamped along its contour subjected to a uniformly distributed load q.
|
a |
b |
Geometry
Radius of a plate r = 1,2 m.
Thickness h = 0,02 m;
Material properties
Modulus of elasticity Е = 2,0 * 108 kPa.
Poisson's ratio ν = 0,3.
Boundary conditions
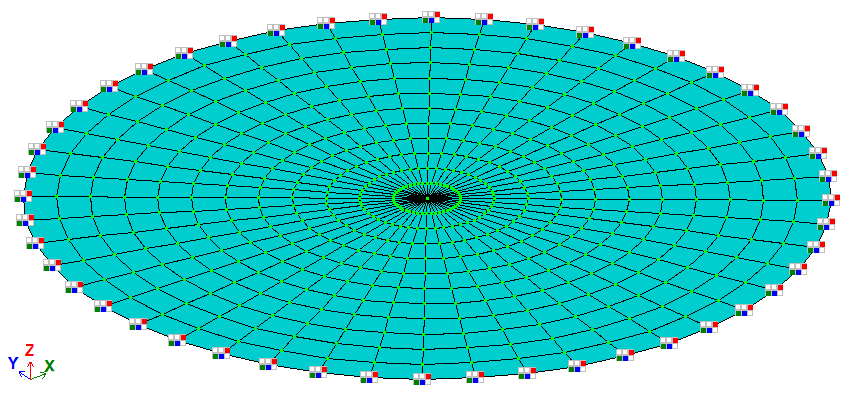
Restraints are applied along the outer contour of the plate for all degrees of freedom (DOF) of the slab finite element (Z, uX, uY).
Loads
Load uniformly distributed across the area: q = 10 kPa.
Note
The problem is solved in a plane formulation (model type 3 – XOY-plane).
For model generation, FE 19 (quadrilateral FE of slab) and FE 12 (triangular Fe of slab) are used. These finite elements have three DOF per node: displacement along the global Z-axis and rotations about the global uX and uY axes.
The FE mesh consists of 12 elements along the radius and 48 elements along the circumference.
The local axes of the plate elements for result evaluation are oriented so that the Y1-axis is directed towards the centre of the circle (the Z1-axis is directed upwards).
Nodes: 577. Elements: 576.
Output data
|
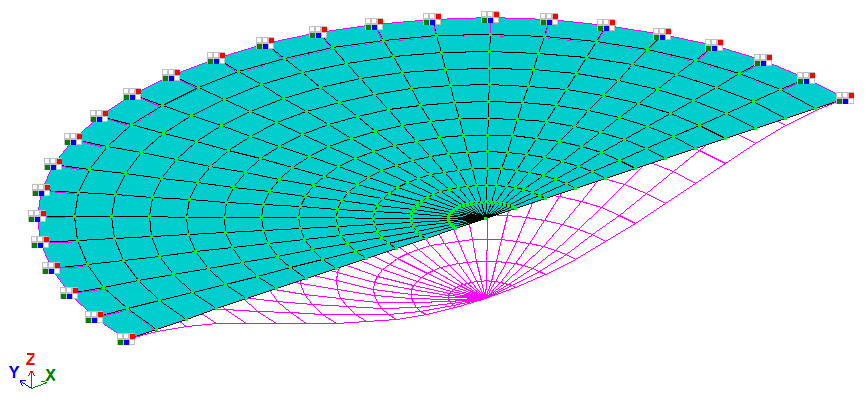
Design and deformed models (half of a plate is displayed) |
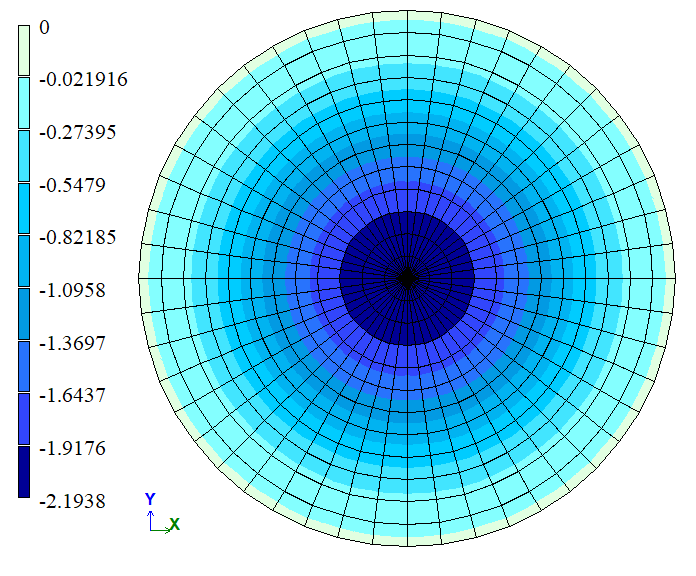
Contour plots of vertical displacements Z(w), mm |
|
а |
б |
Analytical solution


Mx = −qr2/8
My = −vqr2/8
Comparison of calculation results
Without additional side nodes:
| Point | The unknown | Analytical solution | LIRA-FEM | Error, % |
| Centre | Displacement w0, mm | -2,211 | -2,1938 | 0,7779 |
| Edge | Bending moment Mx, kN*m/m | 1,17 | 1,1549 | 1,2906 |
| Bending moment My, kN*m/m | 1,17 | 1,1519 | 1,547 |
With additional side nodes:
| Point | The unknown | Analytical solution | LIRA-FEM | Error, % |
| Centre | Displacement w0, mm | -2,211 | -2,2005 | 0,4749 |
| Edge | Bending moment Mx, kN*m/m | 1,17 | 1,1619 | 0,6923 |
| Bending moment My, kN*m/m | 1,17 | 1,1563 | 1,1709 |
Download verification test
If you find a mistake and want to inform us about it, select the mistake, then hold down the CTRL key and click ENTER.
Comments